Integrating New Chickens into the Flock

Let’s Get Together

Since winter has now officially arrived, we decided it is time to integrate our young chickens into the main flock. We affectionately call these chickens the “high schoolers”. They’re a mix of Favaucanas, Whiting True Blues and Easter Eggers that we hatched this summer. These birds are awesome, they all have 5 toes instead of 4 and they’ll either lay blue or sage green colored eggs! At this point, they are about five months old and are definitely big enough to defend themselves from pecky older hens.

2 of the girls out and about after being released from their baby pen.

Integrating new birds into the flock can be tough. Everyone needs to establish/re-establish their spot in the pecking order. Happily, these high schoolers have been living in a pen just outside the main coop for a few months. Which means the older birds have gotten to see them and adjust to their presence. It’s important to wait until the young birds are almost the same size as the adults since chickens can be quite aggressive about letting everyone know where they stand in the flock. And giving each set of birds plenty of time to see but not touch each other is key to a smooth integration.

The male babies (white feathers) happily coexisting with our older roosters.

It has been about a week since we let the high schoolers out of their pen to free range with the others. Happily, it has gone quite well. Of course, there are occasional minor scuffles when someone finds a tasty treat but that is normal. So far so good. They even figured out that when Karen walks outside, rushing to the porch is a good idea; it’s likely treats will be involved. When I walk out, I’m mostly ignored or greeted with hopeful yet disappointed looks.

A few of high schoolers joining the adults in chasing Karen down for treats.

We’re happy to have everyone in one coop for the rest of the winter. It will keep them warmer and safer. Plus it means we have fewer waterers and feeders to tend to.

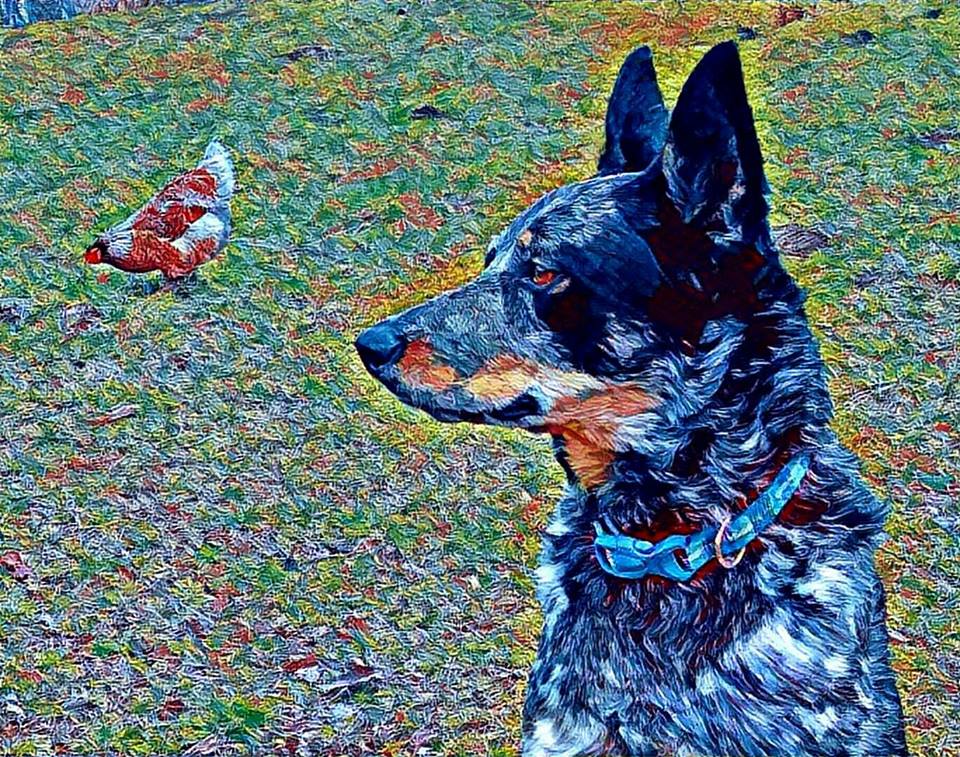
All the chickens happily being chickens together. 

Meet our 1st goat rescue, Poncho!

Poncho is our 3 year old Nigerian Dwarf goat.

He was brought to our farm to be a companion for Tilly, our rescue lamb. Tilly, being a pack animal, was incredibly depressed because she was alone without a herd. She tried to bond with the chickens, she slept in the coop with them and followed them around the farm but the chickens were not interested in that, and Archie wasn’t much of a companion because he didn’t sleep outside. She was beginning to lose her hair from stress and was visibly anxious. She cried constantly. It really bummed us out to see her that way.

Tilly followed the chickens under the house…then got stuck!

Poncho came from a very small farm in Monroe, Wisconsin. He was in danger of becoming someone’s meal when we met him.  His owners loved him and cared for him but were unable to keep him anymore, so we bought him for $50 before someone else could. He’s a Nigerian Dwarf goat so he easily fit into Archie’s car carrier, so we loaded him up in our truck and took him home that day.

Poncho & Tilly.

Tilly was so happy to see him. They became fast friends. He’s a great guy. Friendly, playful, social and a real joy to have around. He’s now the leader of our little pack of goats and we’re so happy to have him.

Awesome Beeswax Lip Balm Recipe

Honey Bees are Awesome!!

Most people think of only honey when they think of bees (obviously), but our honey bees provide us with another excellent product, beeswax!

Collecting honey from our bee hive.

Obviously we love that our bees give us honey.  We plan to keep expanding  and adding more bee colonies every year, and this means we’ll get to do even more fun things with the honey (think Bourbon Infused Honey). In addition to being yummy, the honey is also great in soaps, shampoos, moisturizers, natural cough syrups and lip balm. Plus it’s antibacterial properties make it great for cuts and burns.

Archie’s Acres honey.

But the other excellent thing our bees give us is beeswax! Beeswax is often forgotten about or it’s thought of as just a byproduct of getting that tasty honey. But we have really been embracing it. You can make so many things with beeswax. Like candles, cuticle creams and lip balm! If you want to make your own lip balm, check out the instructions below. We’ve included our special lip balm recipe.

Our current Lip Blam flavors!

But for anyone who doesn’t want to make their own or doesn’t have the supplies, you can always purchase some from Our Etsy Store. If you don’t see the flavor you want, just message us, we can whip up a custom order for you in no time.

For holding the tubes we use this handy pouring tray. You don’t need the tray though if you have great aim. Either way, I would recommend putting some waxed/parchment paper under the tubes to keep any spills off your counter top.


Awesome Beeswax Lip Balm

Course Personal Care
Cook Time 15 minutes
Total Time 15 minutes
Servings 13 .15 ounce tubes

Ingredients

  • 4 tbsp Beeswax
  • 2 tbsp Shea Butter
  • 1.5 tbsp Coconut Oil
  • ~30 drops Essential Oil/Flavor extract of choice

Instructions

  1. Using a double boiler, melt the Beeswax, Shea Butter and Coconut Oil.
  2. Remove mixture from heat and add Essential Oils and/or flavoring of your choice. Add small amounts at a time until you achieve the desired potency.
  3. Check consistency (optional); adjust as needed
  4. Pour into lip balm tubes
  5. Allow to cool completely before capping

Recipe Notes

If you're not sure the consistency is what you're looking for or want to check the scent/flavor, pour a small amount of the mixture onto a piece of waxed paper and put it in the fridge and put the pot with the rest of the mixture back into the double boiler to keep it warm. After a few minutes, take the sample out of the fridge and test it out. If it's good to go, simply pour the rest of the mixture into the waiting tubes.

If you need to adjust, do so in small amounts and check again until you find the perfect blend.


error

Enjoy this blog? Please spread the word :)